To be able to create signs, you will need to click on the Multi Select button within the Stock Items window.
Go to File > Stock Control > Stock Items > Multi Select.
Pressing this button will change the screen to the Multi Select mode.
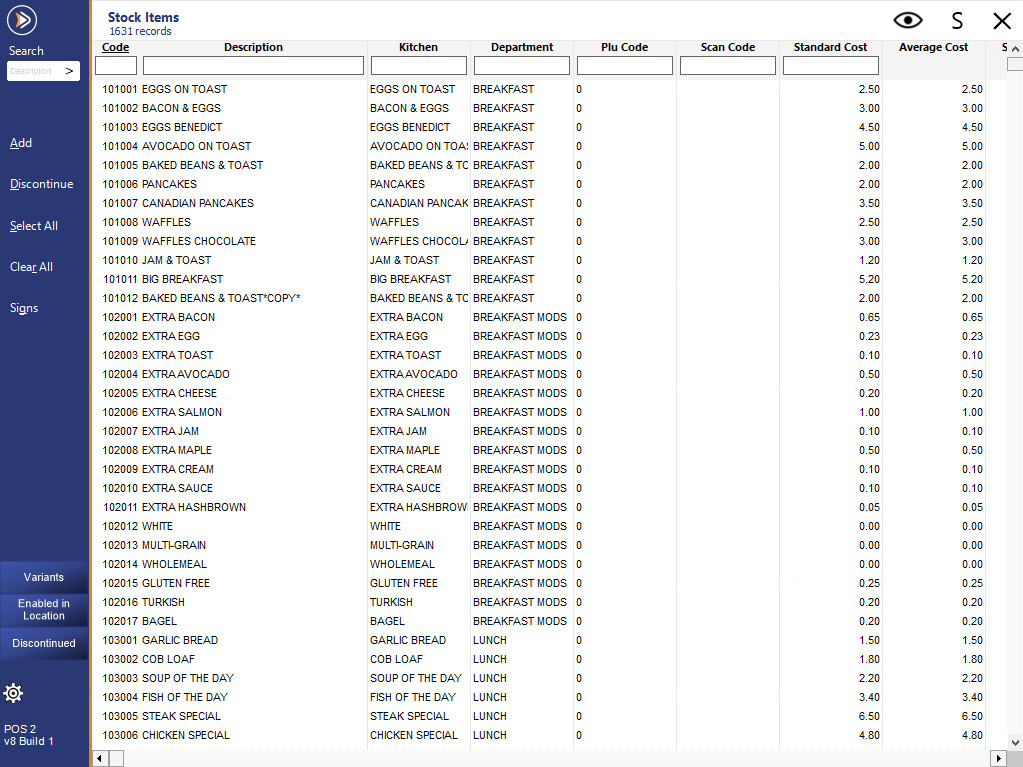
Within this screen are 4 buttons that allow you to perform the following actions:
Select All - This button will select the entire Stock Item list.
Clear All - This button will clear any selected items from the Stock Item list.
Signs - This button will allow you to create Signs.
Add - This button allows you to Add new Stock Items.
Press and hold the ‘Control’ button on your keyboard to select the individual items you want to create signs for, or use the Shift button to select a range.
Once you have made all the selections, press the ‘Signs’ button.
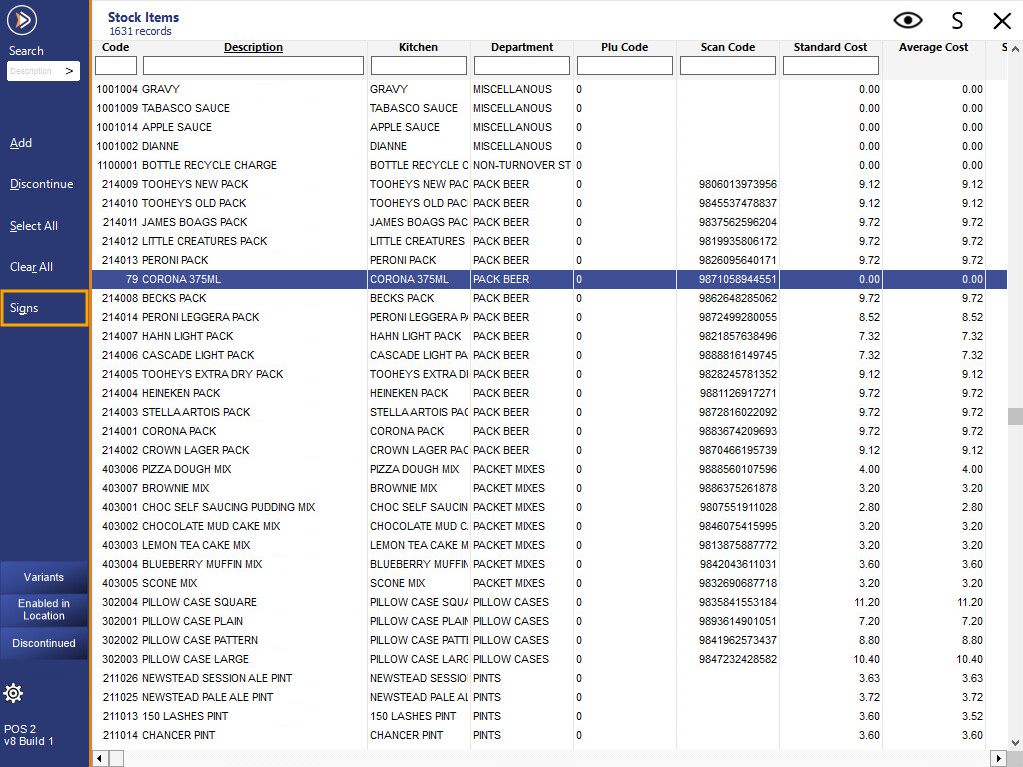
The Stock Item Signs window will open, and display all selected items as signs on the Default Format.
The left-hand side of the screen contains all of the design elements which will allow you to configure the signs the way you want.
Select a format using the drop-down menu.
If you have saved multiple formats, they will be available, otherwise there will only be the Default Format.

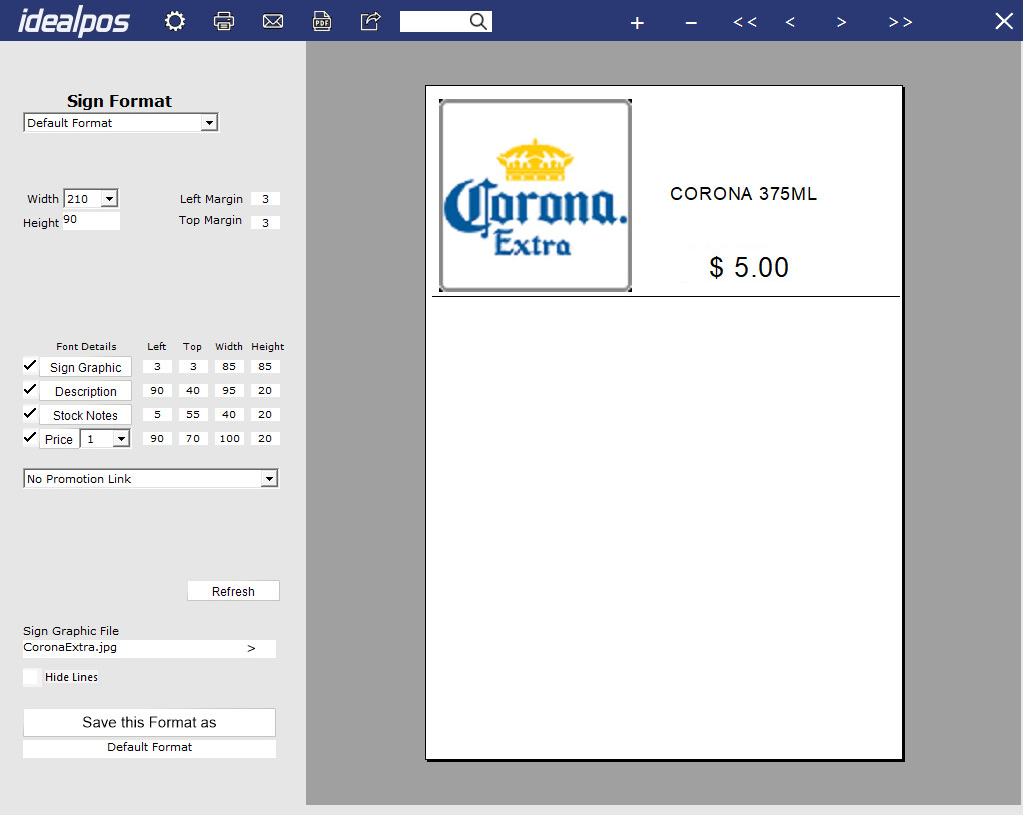
Use the drop-down menu to select the width of the sign, and enter a value for the height.
You can also enter where you would like the Margin to start from for the Top-Left corner.
Width
The width selections will determine if the sign is printed in Landscape or Portrait orientation.
There are currently 5 different widths available.
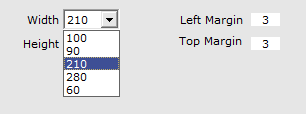
Height
The height field allows you to enter any value you require for the sign to print.

This section is used to configure each element of your sign to be where you want it to be displayed.
Be careful to not overlap different bits of information as this will make them unreadable.
The size of the graphic will override the Width/Height settings if they are larger.
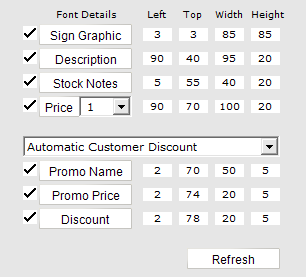
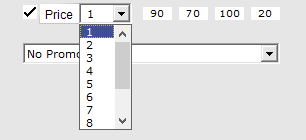
The ‘Price’ field of the item can be selected to use whichever Price Level you want displayed on the sign.
Signs can be linked to a Promotion which allows you to display the Promotion Name, Promotion Price and Discount Amount.

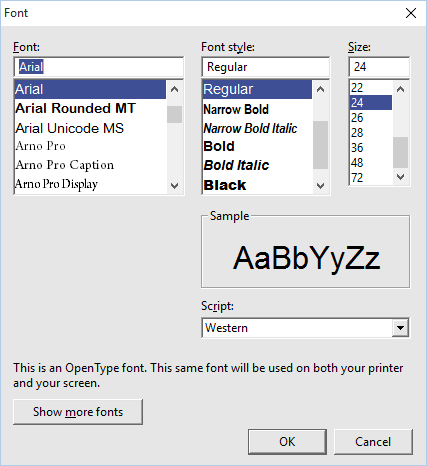
Press the Element Button Description to change the look and size of the font for that element.

You can add and remove any element you wish by enabling or disabling the checkbox.
Press ‘Refresh’ after changing the values to see what the changes will look like.
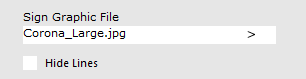
Press the ‘>’ to browse to the graphic you want to use.
It doesn’t matter what image you select, as it will be resized to the specifications you give it in the Sign Elements section.
There is a checkbox which will hide the print lines around the signs.
Pictures for signs must be stored in the Pictures folder of the Idealpos folder.
The Pictures folder is typically available in the following location:
C:\ProgramData\Idealpos Solutions\Idealpos\Pictures\
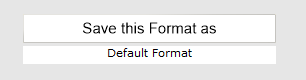
When you have made multiple changes to a format, you will want to save those for future use.
Enter the name of the format and press ‘Save this Format as’.
When you have finished with the design and have the selected items, you can use one of the four buttons located at the top of the screen.